Painting a room is a fantastic way to enhance the aesthetic appeal of your living space, whether you’re looking to refresh the existing color or completely transform the room. With the right tools and techniques, you can achieve a professional-looking finish that will make your space look brand new. Not only does a fresh coat of paint invigorate your home, but it also reflects your personal style and can significantly affect your mood. This is a detailed guide to painting a room like a professional, covering everything from preparation to finishing touches.
Prep Work Is Key
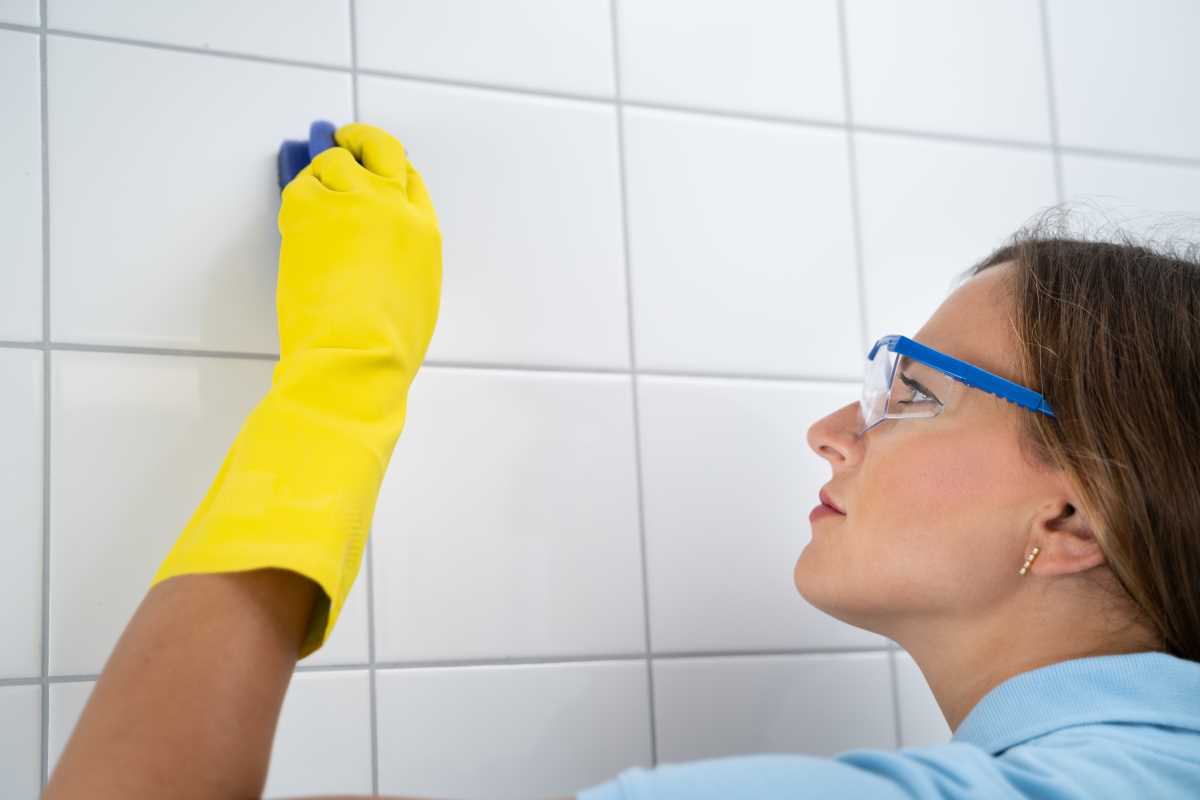
Before you start painting, it's crucial to properly prep the room. This includes removing furniture from the space or covering it with drop cloths to protect it from paint splatters. Remove any wall hangings, fixtures, and outlet covers to ensure a clean working area. Clean the walls thoroughly to remove dust, dirt, and grease, which can interfere with paint adhesion. A simple mixture of warm water and mild soap is often enough; just make sure the walls are completely dry before painting.
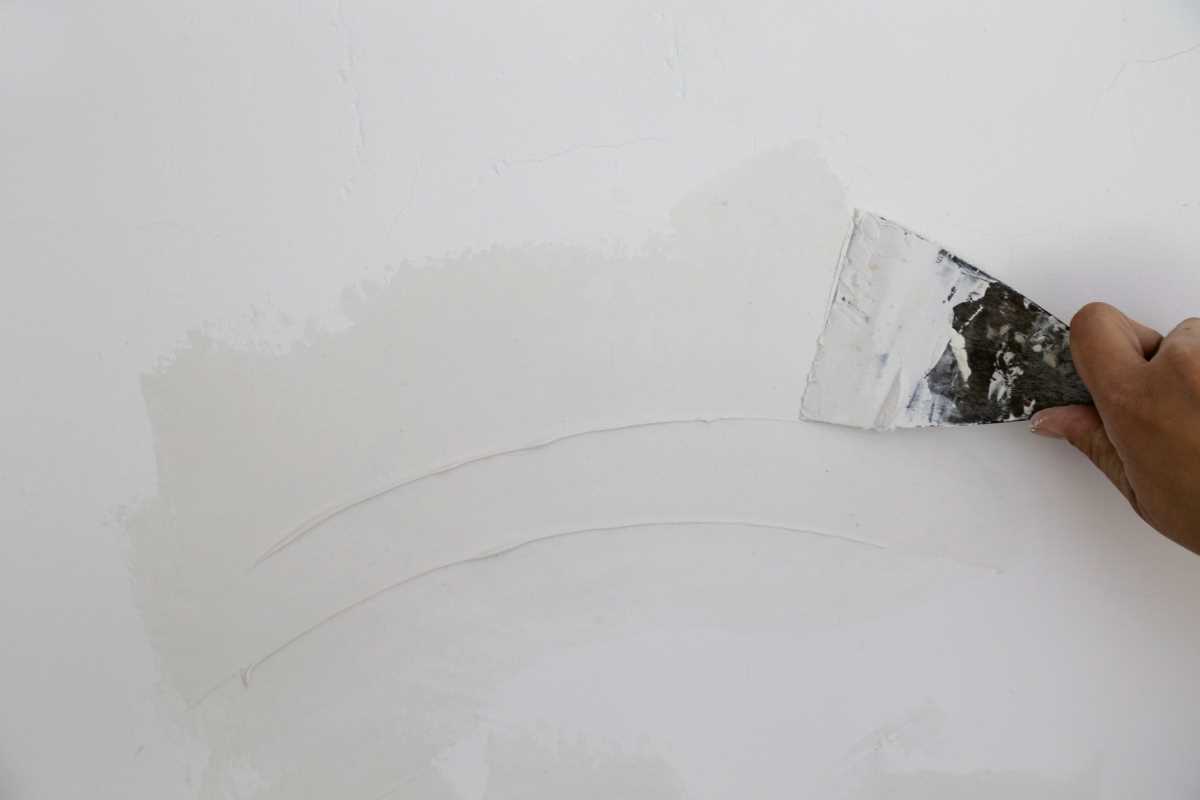
Inspect the walls for any holes, cracks, or imperfections. These need to be filled with spackle or joint compound. Once the filler dries, sand the area smooth to create a level surface. Taping off trim, windows, and doors with painter's tape is essential for achieving clean lines. Make sure to press the tape down firmly to prevent the paint from bleeding. Taking the time to prep the room will ensure a smoother painting process and a cleaner finish.
Choose the Right Tools and Paint
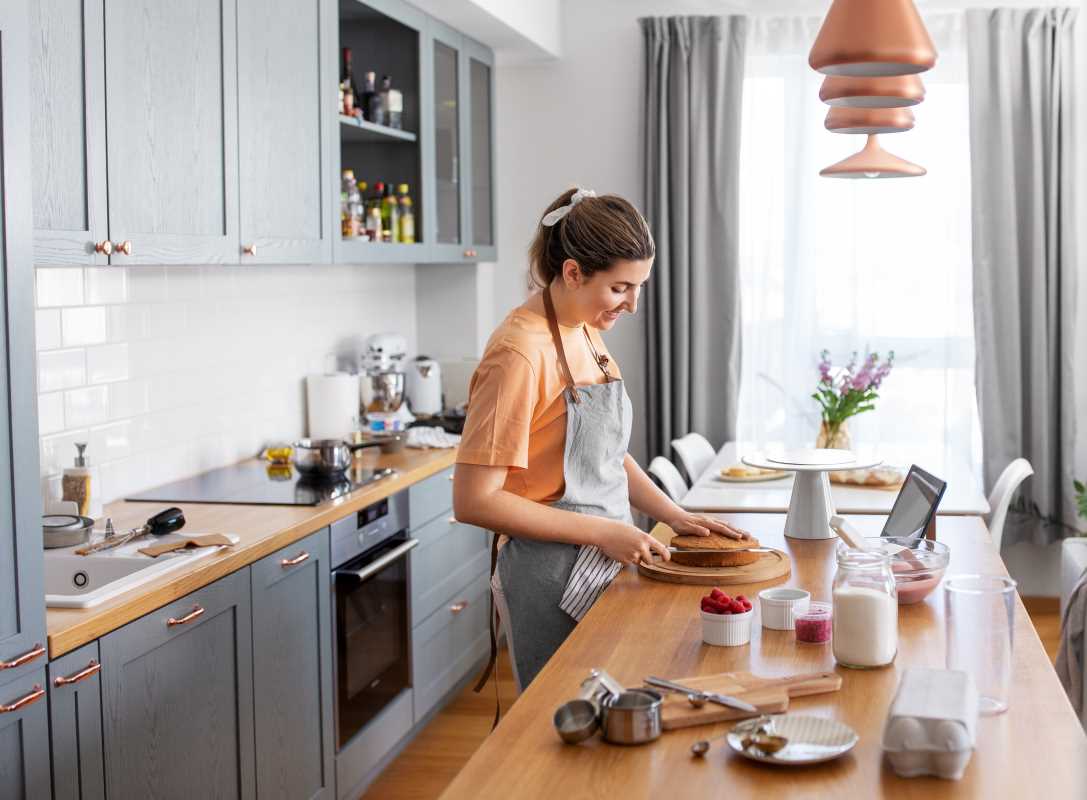
Investing in high-quality paint and tools can make a significant difference in achieving a professional-looking result. Select paint that suits your desired finish, whether it’s flat, eggshell, satin, semi-gloss, or gloss. Each finish serves different purposes; for instance, semi-gloss is ideal for kitchens and bathrooms due to its moisture resistance, while flat paint is great for ceilings and low-traffic areas.
For areas with high moisture, like kitchens and bathrooms, consider using paint specifically designed for these environments. Additionally, using a paint primer can help with better adhesion and coverage, especially if you're making a significant color change. Quality brushes and rollers are also essential; synthetic brushes are great for water-based paints, while natural bristle brushes work better with oil-based paints. A 3/8 to 1/2 inch roller nap is usually ideal for most walls, but if you have textured surfaces, a longer nap may be necessary. Don’t forget to have a paint tray and liners on hand for easier application.
Apply Paint Properly
When painting, technique matters. Use a "W" or "M" motion to evenly distribute the paint on the walls. Start from the top and work your way down, blending the edges as you go. This technique helps avoid streaks and ensures even coverage. Be careful not to overload the brush or roller with paint, as this can lead to drips and splatters. For a smooth finish, it's better to apply multiple thin coats of paint rather than one thick coat. Typically, two to three coats are necessary for optimal coverage, particularly when covering dark colors with lighter ones or vice versa.
Make sure to take breaks between coats to allow for proper drying time. This is crucial; if you apply a second coat too soon, you risk peeling or an uneven finish.
Mind Your Drying Time
Allow each coat of paint to fully dry before applying the next one. This not only helps prevent streaks and drips but also ensures even coverage. Pay attention to the drying times recommended on the paint can, as they can vary depending on the type of paint and environmental conditions. Factors like humidity and temperature can affect drying time, so it’s wise to ensure adequate ventilation in the room. If possible, paint when the weather is mild to achieve the best results. While waiting for the paint to dry, take the time to clean your brushes and rollers, making sure they’re ready for the next coat.
Finishing Touches
Once the walls are fully painted and dried, it’s time for the finishing touches. Carefully remove the painter's tape to reveal clean, crisp edges. It’s best to pull the tape off at a 45-degree angle for the best results. If you notice any imperfections or missed spots, touch them up with a small brush and the same paint you used on the walls. Once you're satisfied with the paint job, reinstall any fixtures or furniture that were removed before painting. You may want to consider new decor or accessories to enhance the fresh look of the room.
Consider the Lighting
Lighting plays a crucial role in how your newly painted room will look. Before committing to a color, test paint samples on the wall and observe how they appear in different lighting conditions throughout the day. Natural light can significantly affect color perception, so it’s essential to see how the shade interacts with both daylight and artificial lighting. Consider the direction your windows face and how much natural light the room gets at different times of the day. Choosing the right lighting fixtures can also complement your paint choice and enhance the overall ambiance of the room.
Clean Up and Maintenance
After you’ve finished painting, take a moment to clean up your workspace. Properly dispose of or store any leftover paint for future touch-ups. Clean your brushes and rollers according to the type of paint used, ensuring they remain in good condition for your next project. A simple rinse in warm soapy water for water-based paints or mineral spirits for oil-based paints will suffice. It’s also wise to keep a small container of the leftover paint for repairs or touch-ups.
Consider doing a light cleaning of the walls after a few weeks to maintain a fresh look, especially in high-traffic areas. Dust can accumulate and dull the finish, so a gentle wipe with a damp cloth can help retain the vibrancy of your new color.
Embrace Creativity
Don’t be afraid to get creative with your painting project. Whether it's using stencils for patterns, painting an accent wall, or experimenting with color combinations, adding a personal touch can make your space feel unique and reflective of your style. Consider the use of geometric patterns or ombre effects to give your room a distinctive flair.
You might also think about creating a gallery wall or using painter’s tape to achieve crisp lines for striped designs. Remember that painting is an opportunity to express yourself, so take advantage of the chance to create a space that truly feels like home. The goal is not just to paint a wall but to enhance the entire atmosphere of the room.
Safety Considerations
While painting can be a fun and rewarding DIY project, it’s essential to prioritize safety throughout the process. Always work in a well-ventilated area, especially when using oil-based paints or strong solvents. Consider wearing a mask to avoid inhaling fumes and safety goggles to protect your eyes from splashes. If you're working with ladders, make sure they are stable, and don’t overreach to prevent accidents.
Keep all materials out of reach of children and pets to ensure their safety while you work. Following these precautions will help you focus on creating a beautiful new space without worry.


.jpg)
