Installing shelving units can transform your space, providing much-needed storage while enhancing the aesthetics of any room. Whether you're looking to declutter a home office, create a cozy reading nook, or optimize kitchen space, shelves offer a practical solution. This guide will walk you through everything you need to know about installing shelving units, from selecting the right materials to step-by-step installation.
Why Install Shelving Units?
Shelving units are versatile and serve a multitude of purposes. They can help organize books, display decorative items, or store everyday essentials. Installing shelves can also make a room feel more spacious by utilizing vertical space effectively. By using shelving units, you can create a personalized look tailored to your style while maximizing storage without taking up valuable floor space. Before diving into installation, it’s essential to choose the right type of shelving units for your needs. Here are some common options:
- Floating Shelves: Floating shelves attach directly to the wall without visible brackets, giving a clean, modern look. They are perfect for displaying decorative items or storing lightweight books. However, they require precise installation to ensure they are secure and can hold the intended weight.
- Bracketed Shelves: Bracketed shelves are mounted on wall brackets, which provide a sturdy support system. They come in various materials, such as wood, metal, and even glass. This type of shelf is ideal for heavier items and can be adjusted to different heights.
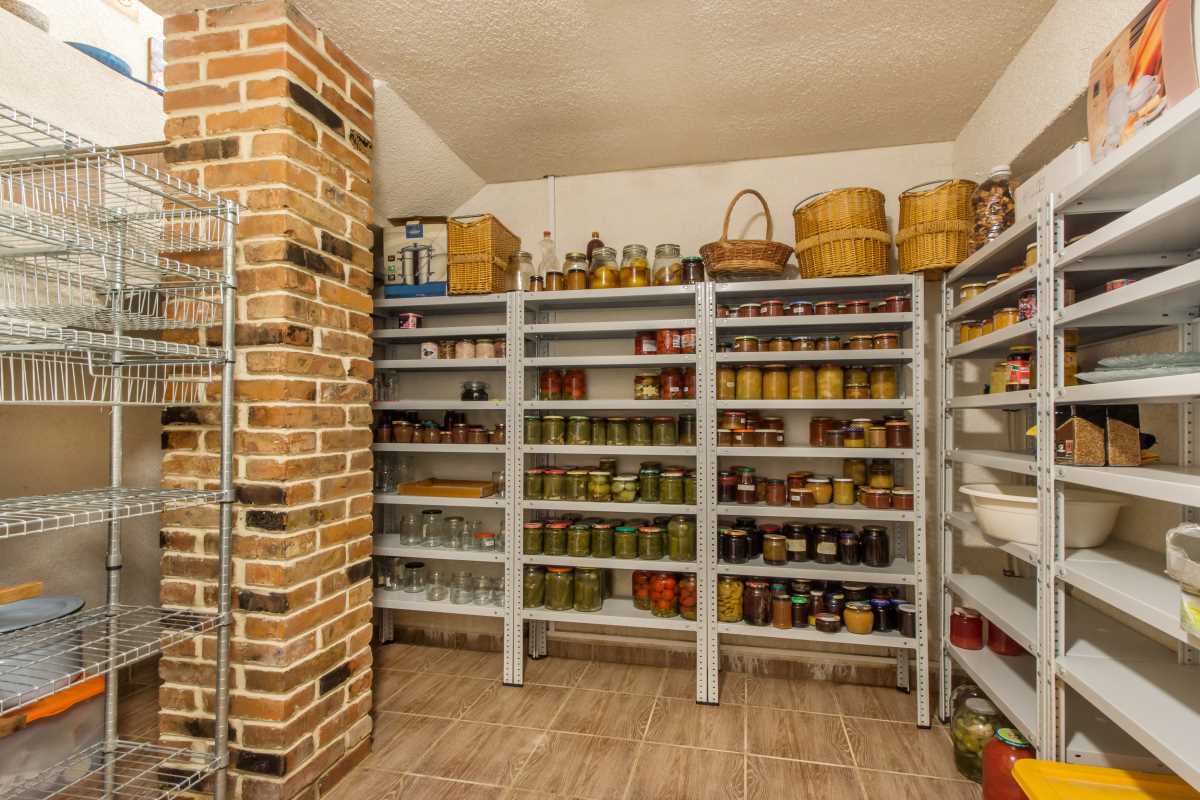
- Freestanding Shelving Units: Freestanding units are versatile and can be placed anywhere in a room. They come in various styles and sizes and can serve as room dividers or storage solutions. However, they require floor space, so consider the layout of your room before choosing this option.
- Corner Shelves: If you have unused corner space, corner shelves can be a fantastic solution. They maximize storage in tight areas and can add visual interest to your decor. Look for corner shelving units specifically designed to fit into those angles.
Measuring Your Space
Accurate measurements are crucial for a successful shelving installation. Start by measuring the area where you plan to install the shelves. Consider the following:
- Height and Width: Measure the height of the wall and the width of the available space. Be sure to leave some clearance from the ceiling to avoid looking cramped.
- Depth: Determine how deep you want your shelves to be. A standard depth for most shelves is between 10 to 12 inches, but this may vary depending on what you plan to store.
- Weight Capacity: Consider the weight of the items you intend to place on the shelves. This will help you choose the right materials and ensure that the shelving unit is capable of supporting the load.
Selecting Materials
The materials you choose will depend on your design preferences and the intended use of the shelves. Common options include:
- Wood: A classic choice that offers warmth and durability. Solid wood is ideal for heavy items, while plywood can be a cost-effective alternative for lighter loads.
- Metal: Offers a modern aesthetic and can support significant weight. Metal shelves are often used in industrial-style decor or for utilitarian purposes in garages and kitchens.
- Glass: This creates an airy feel and is perfect for displaying decorative items. However, glass shelves require careful handling and installation to avoid breakage.
Tools and Supplies Needed
To install shelving units, you'll need a few essential tools and supplies. Here’s a list to get you started:
- Stud finder: To locate wall studs for secure installation.
- Level: Ensures your shelves are straight.
- Tape measure: For accurate measurements.
- Drill: For making holes in the wall.
- Screwdriver: To secure brackets or shelves.
- Wall anchors: For added support, especially if you're not drilling into studs.
- Pencil: To mark where you’ll install the shelves.
Step-by-Step Installation Guide
Once you've selected your shelving units and gathered your materials, you can begin the installation process. Follow these steps for a successful installation:
- Prepare the Area: Clear the area where you plan to install the shelves. Remove any items from the wall or floor that could obstruct your work. It’s also a good idea to lay down a drop cloth to protect your flooring.
- Find the Studs: Use a stud finder to locate the studs in your wall. Mark these locations lightly with a pencil. If you’re installing shelves that will hold heavy items, it’s essential to anchor them to the studs for added support.
- Measure and Mark: Using your tape measure, determine where you want the shelves to go. Mark the desired height of the bottom shelf and use a level to draw a straight line. This line will help you ensure that all shelves are evenly spaced.
- Install the Brackets (if applicable): If you’re using bracketed shelves, begin by attaching the brackets to the wall. Align the brackets with the studs or use wall anchors if necessary. Use your level to make sure each bracket is straight before securing them with screws.
- Attach the Shelves: Once the brackets are in place, carefully place the shelf boards onto the brackets. Make sure they fit snugly and are supported evenly. If necessary, use screws to secure the shelves to the brackets for added stability.
- Install Floating Shelves (if applicable): For floating shelves, follow the manufacturer’s instructions for installing the mounting hardware. This typically involves drilling into the wall and attaching the mounting bracket. Once the bracket is secure, slide the shelf onto the bracket and ensure it’s level.
- Double-Check Everything: Before placing items on your new shelves, double-check that everything is securely installed. Use the level one last time to ensure your shelves are straight.
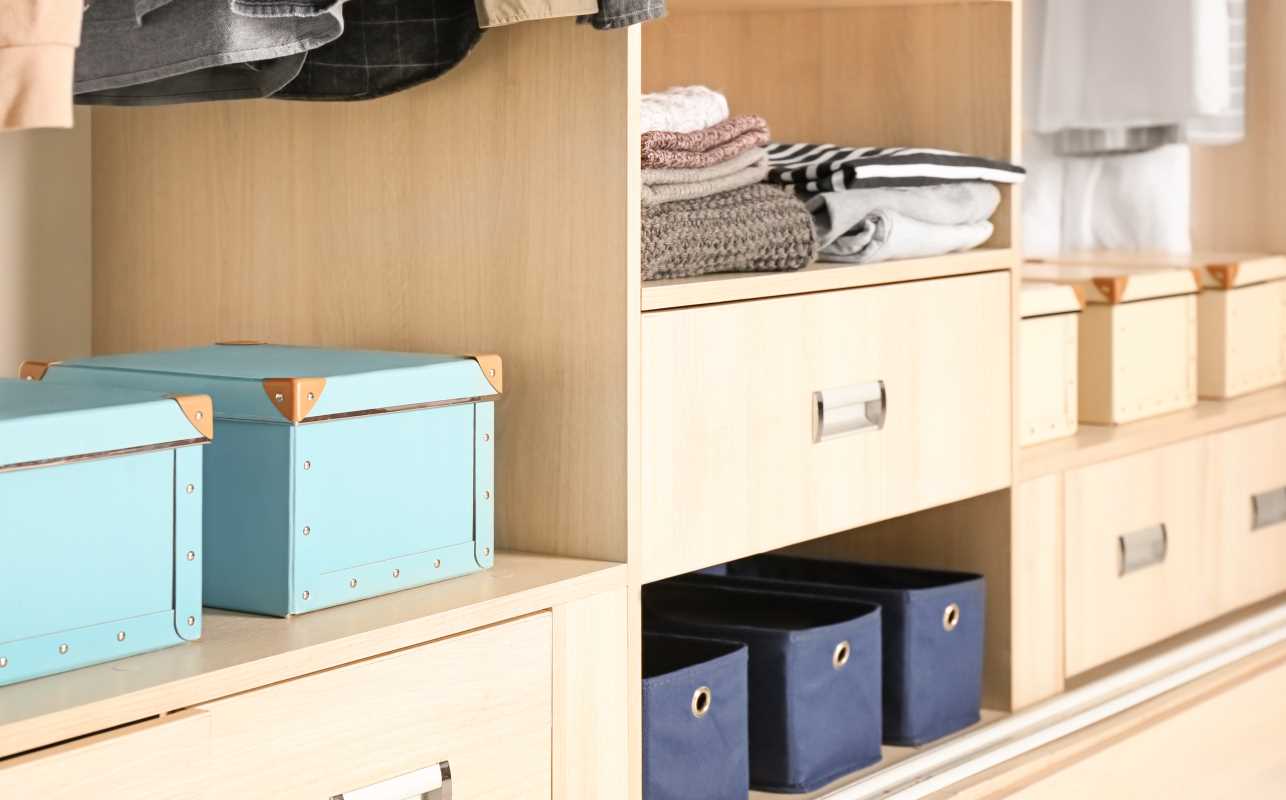
- Decorate and Organize: Now that your shelves are installed, it’s time to style them! Arrange your books, decorative items, or storage boxes in a way that reflects your personal style. Consider mixing heights and textures to create visual interest.
Tips for Maintaining Your Shelves
After your shelving units are installed, a little maintenance will ensure they remain in top shape:
- Regular Cleaning: Dust your shelves regularly to keep them looking fresh. Use a microfiber cloth for wooden shelves and a damp cloth for glass or metal.
- Check Stability: Periodically check that brackets and screws are secure. If you notice any instability, tighten the screws or reassess the installation.
- Avoid Overloading: Be mindful of weight limits. Overloading your shelves can lead to sagging or damage.
Installing shelving units can be a rewarding DIY project that enhances your home’s organization and aesthetics. By carefully selecting materials, accurately measuring your space, and following the steps outlined in this guide, you can create functional and stylish storage solutions that meet your needs. Whether you opt for floating shelves, bracketed units, or freestanding shelves, your new installations will help transform your space into an organized and visually appealing environment. Enjoy your new shelves and the extra storage they provide!


.jpg)
